Learn the Skills · 2 min read
How to Tie the Improved Clinch Knot
Step-by-step instructions for the improved clinch knot, the most common way to tie a hook or lure to monofilament line.
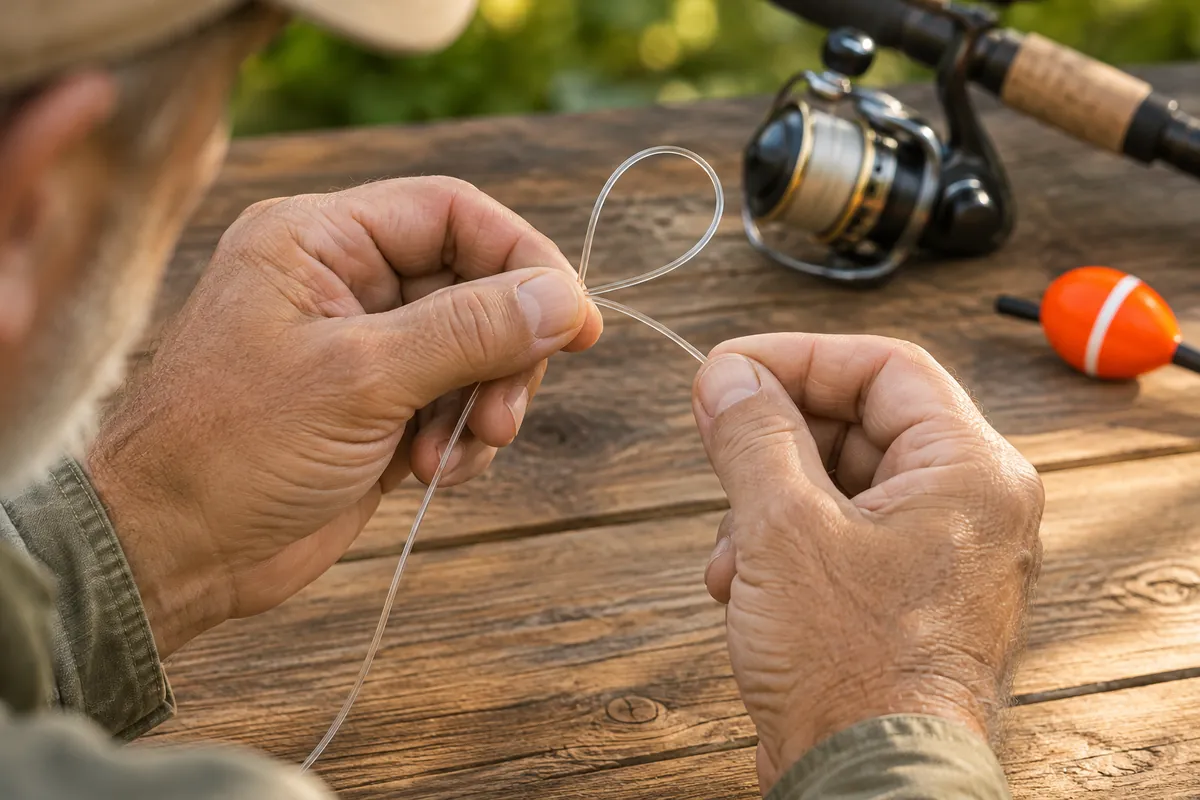
The improved clinch knot is the first knot most anglers learn. It's quick, strong and works for tying hooks, lures and swivels to monofilament or fluorocarbon line.
Steps
- Pass about 6 inches of line through the eye of the hook.
- Wrap the tag end (the short end) around the main line five to seven times. Use fewer wraps with heavy line and more with light line.
- Bring the tag end back toward the hook and pass it through the small loop just above the eye.
- Now pass the tag end through the big loop you just created. This is the "improved" step.
- Wet the knot with water or saliva so it doesn't heat up and weaken.
- Pull the main line and the hook in opposite directions to snug the coils down neatly.
- Trim the tag end, leaving about ⅛ inch.
Always wet your knots before tightening. Friction heat can weaken line and cause the knot to break.
Good for
Hooks, lures and swivels on mono and fluorocarbon. It's not the best choice for braided line, which can slip; use a palomar knot instead.
Practice tip
Practice at home with a thick shoelace or heavy line and a large hook or key ring until the steps feel natural. Our printable knot card fits in a tackle box.
Next lessonHow to Tie the Palomar Knot →Updated November 18, 2026. Fishing rules vary by state; check your state wildlife agency's current regulations.